
Open your WSL2 terminal and check whether Docker is present in your system or not by executing –
docker --version
If you receive -bash: /usr/bin/docker: No such file or directory then you know that Docker is no present in your system and you are good to go to install Docker in WSL2.
Step 1: Update your Linux software repository
sudo apt-get update
Step 2: Download Docker Dependencies
sudo apt-get install apt-transport-https ca-certificates curl software-properties-common

Step 3: Add Docker PGP key
curl -fsSL https://download.docker.com/linux/ubuntu/gpg | sudo apt-key add –

Step 4: Install Docker Repository
sudo add-apt-repository "deb [arch=amd64] https://download.docker.com/linux/ubuntu $(lsb_release -cs) stable"

Step 5: Update software repository
sudo apt-get update
Step 6: Install latest Docker version
sudo apt-get install docker-ce
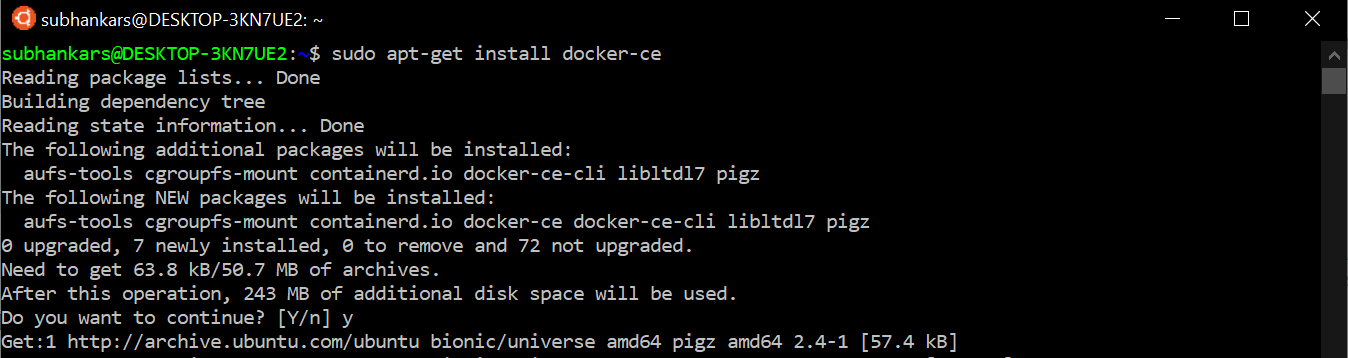
This step completes Docker Installation on your WSL2, now you have to do a quick rain check.
Step 7: Check Docker Version
To check whether docker is installed properly or not check Docker version using this command docker --version. If you don’t get error like – bash: /usr/bin/docker: No such file or directory and see the Docker version then you know that Docker is installed successfully.

Now that Docker is installed, you need to start the docker service. To check whether Docker Service is running or not execute below commands
Step 8: Check Docker service statusservice docker status
orsudo service docker status

Step 9: Running Docker servicesudo service docker start

Look for OK in your terminal. To re-verify service status use this command
sudo service docker status

Step 10: Check Docker container and image status
If you want to know more information about running Docker Images usesudo docker info
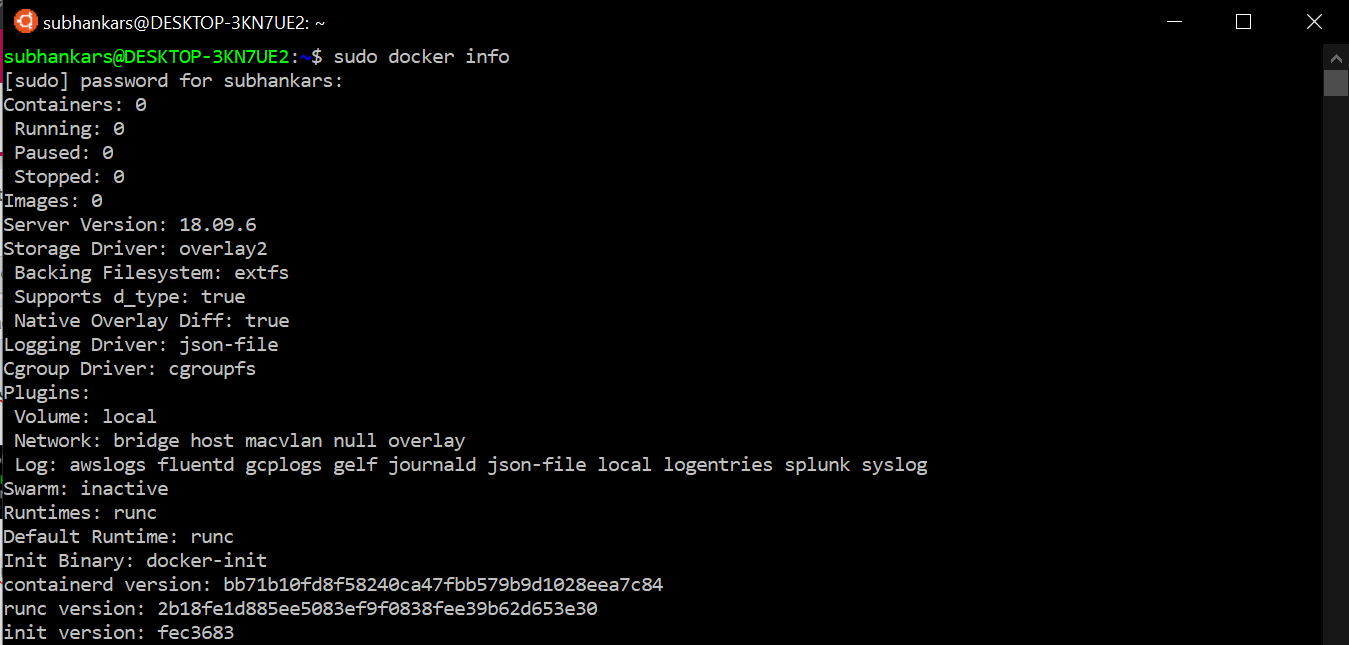
or sudo docker ps

This will show you status of all your image details. At this point in time it won’t show anything as we haven’t created any Docker container yet.
In next step we are going to create a Docker container for .NET core application and run it, then we will re-visit these stats.
Note: you can run docker ps and docker info without sudo. If you get any socket error while running docker ps and docker info without sudo then run this command sudo usermod -a -G docker $USER and completely logout from the terminal. Now you should be able to run these commands without sudo.
So far we have covered how to Confiure WSL and Install Docker on it and run it, now it’s time to Dockerize an existing .NET Core MVC application and running it.
For this example I have created a simple .NET Core app with mvc template outside of WSL using
dotnet new mvc
Created a new directory named first-docker on WSL and copied the above .NET project contents. Opened a Visual Studio Code editor from the current directory. Added the following Dockerfile
I’m calling this application as first-docker and hence the output dll is first-docker.dll. See Line 16.
Added a .dockerignore file to exclude bin and obj folder. Added the following lines into it./bin
/obj
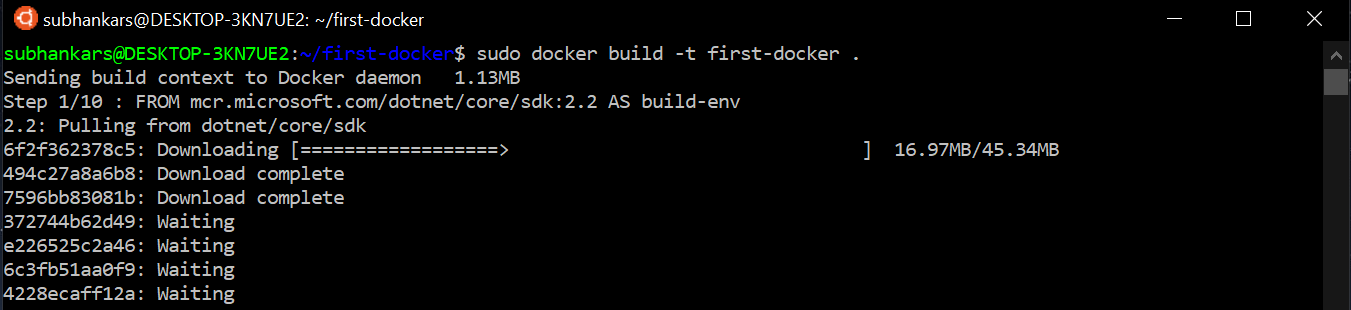
Now that the Dockerfile is added, it’s time to build the Docker container with all the .NET runtime along with building the project inside.
Use the following command in the WSL2 bash within the current working directory
docker build -t first-docker .
It will start installing required package to build .NET Core Container as below –
On successful build of the Image you will see something like this
To run your first Dockerized .NET Core app execute up the following command
docker run -d -p 8080:80 --name dotnetcoredocker first-docker

This will run the .NET Core MVC app and will start listening to 8080 port. To access it from your Windows 10 browser you have to open the url with IP address. You Can’t use localhost at this moment, at the time of writing this post localhost is not supported in WSL2.
To get your WSL2’s IP use the following command
ip addr | grep eth0

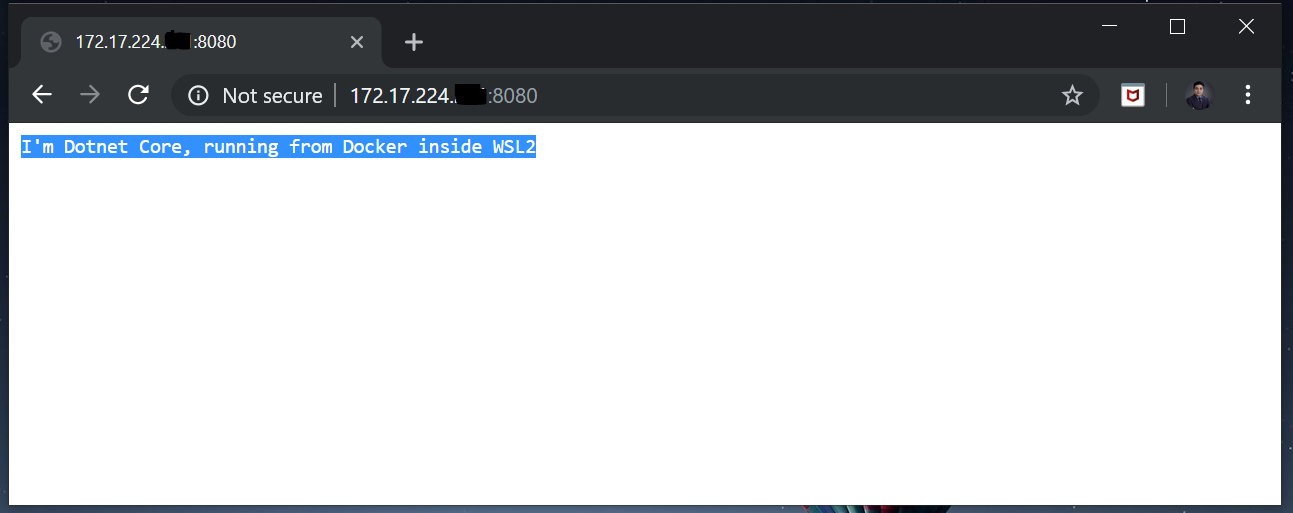
Once you get your IP address type http:///
in a browser running on your Windows 10, and Viola…!!! you got your first Dockerized .NET Core MVC Web App running on WSL2.
Now that your first Dockerized .NET Core application is running perfectly well on WSL2 let’s check few final things –
Let’s go up and check Docker Setup Step 10. While running docker ps we have seen that there was no running container and also in the output of docker info command number of containers and images was 0.
While the Dockerized Web Application is running in browser, let’s run those commands again and see the difference –
docker info
docker ps
Notice that Container and Running instance count increased to 1 from 0. An Image with name first-docker is running in a container named dotnetdocker and it’s listening to 8080 port as configured in the Dockerfile.
This completes the full circle, starting from Installing WSL2 in your Windows 10 PC, Installing Docker and finally running a Dockerized .NET Core Web application from WSL2. Enjoy your first Dockerized app on WSL2. Cheers…!!!